
Hiring Your First Employee
Hiring Your First Employee
This guide walks you through hiring your first AI employee, from selecting a claw type and completing payment to configuring channels and skills.
Before You Begin
Checklist
- [ ] Account created — Sign up at makersfuel.com
- [ ] Channel credentials ready (optional, can add later):
- Telegram: Bot token from @BotFather
- Discord: Bot token from Developer Portal
- Slack: Bot token + App token from Slack Apps
Step 1: Navigate to Employees
- Click Employees in the sidebar (or press
GthenE) - Switch to the Available tab and browse employee templates
Step 2: Select Claw Type
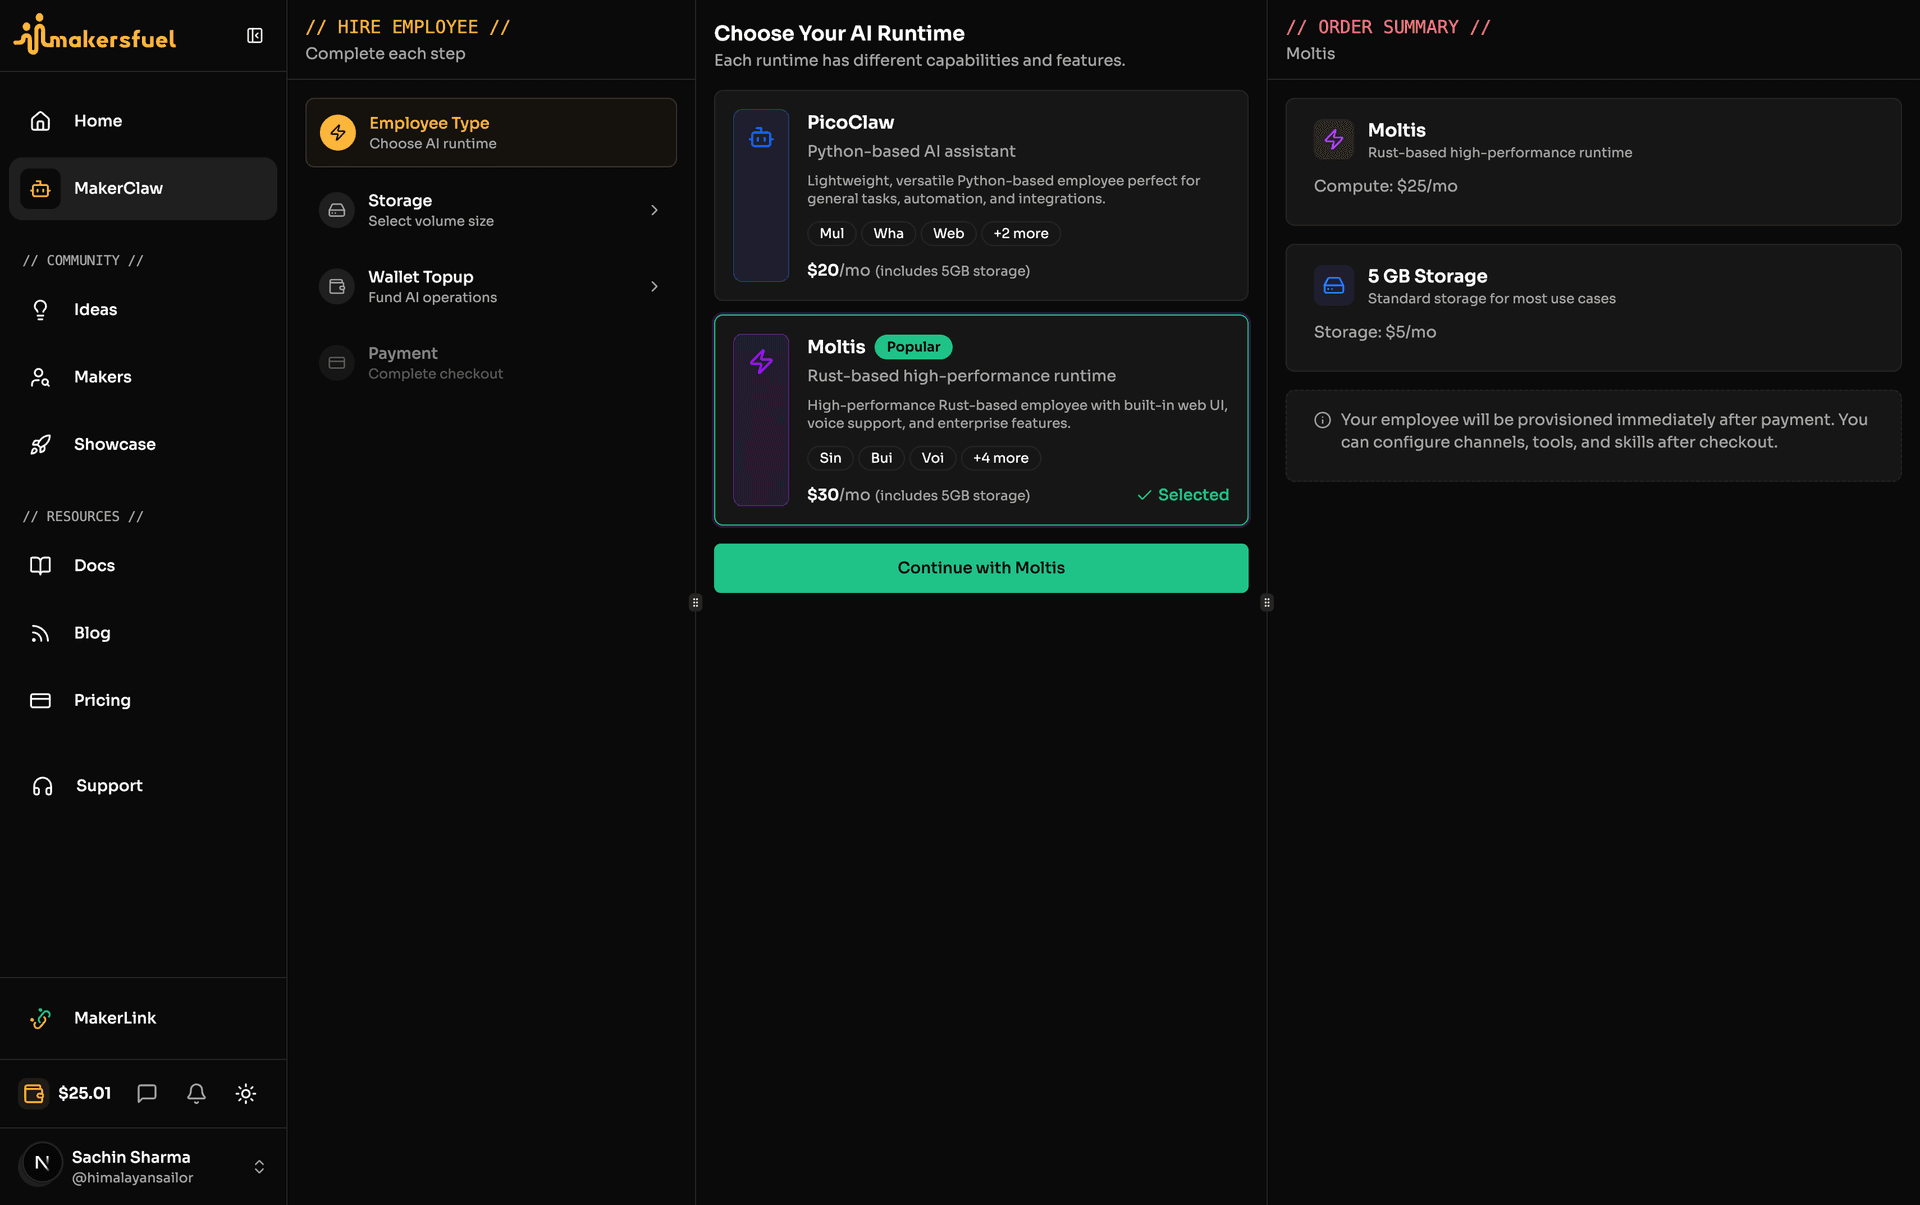
Choose the runtime engine for your AI employee. Each claw type has different capabilities and pricing.
| Claw Type | Language | Best For | Key Features |
|---|---|---|---|
| PicoClaw | Python | Lightweight tasks, email support | Email channel, Python execution |
| Moltis | Rust | Full-featured agent with web UI | Web dashboard, advanced tools |
Select your preferred claw type and click Continue.
Tip: Moltis is recommended for most use cases. PicoClaw is better if you need email channel support.
Step 3: Select Storage
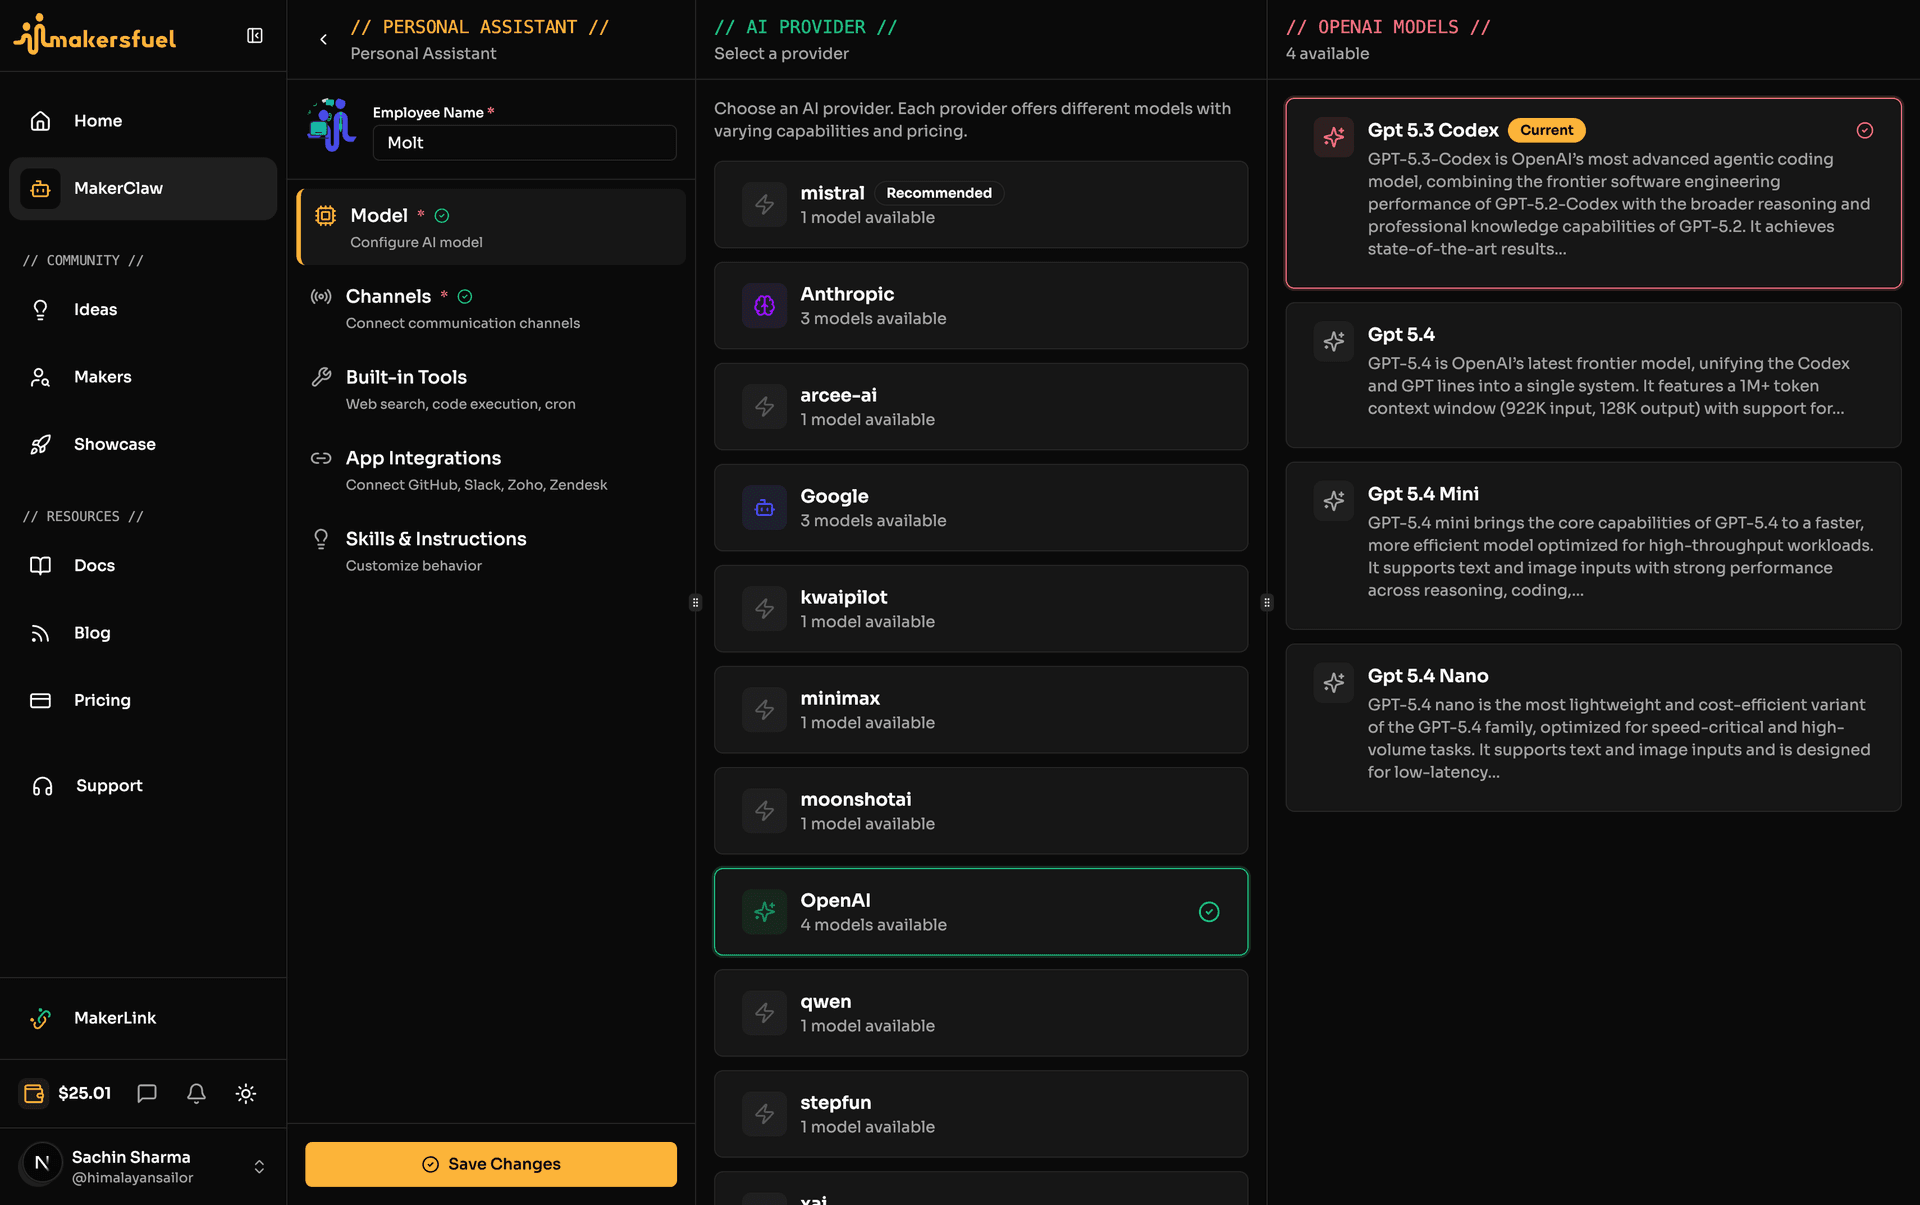
Choose how much persistent storage your employee needs for files and workspace data.
| Tier | Storage | Best For |
|---|---|---|
| Starter | 5 GB (included) | Most use cases, light file storage |
| Standard | 10 GB | Document processing, larger workspaces |
| Professional | 50 GB | Heavy file operations, data analysis |
Note: 5 GB storage is included with every employee at no extra cost.
Step 4: Top Up Wallet (Optional)
Your AI employee uses an Assistiv USD wallet for AI model inference (token usage). You can fund it now or skip and top up later.
- Top-up is commission-free via Paddle
- You can skip this step and fund later from Settings > Wallet
- AI usage is billed per-token based on the model you choose
Tip: You can start with the free trial and top up your wallet before it expires.
Step 5: Payment & Subscription
Complete payment via Paddle to activate your employee subscription.
Pricing
Each AI employee is $20/month with a 3-day free trial for your first employee.
| Item | Details |
|---|---|
| Subscription | $20/month per employee |
| Free Trial | 3 days, no payment required upfront |
| AI Usage | Separate, billed via Assistiv wallet |
| Cancellation | Cancel anytime |
After payment, the system redirects you to the Configure page.
Step 6: Name Your Employee & Choose Model
After payment confirmation, you land on the configuration page.
Employee Name
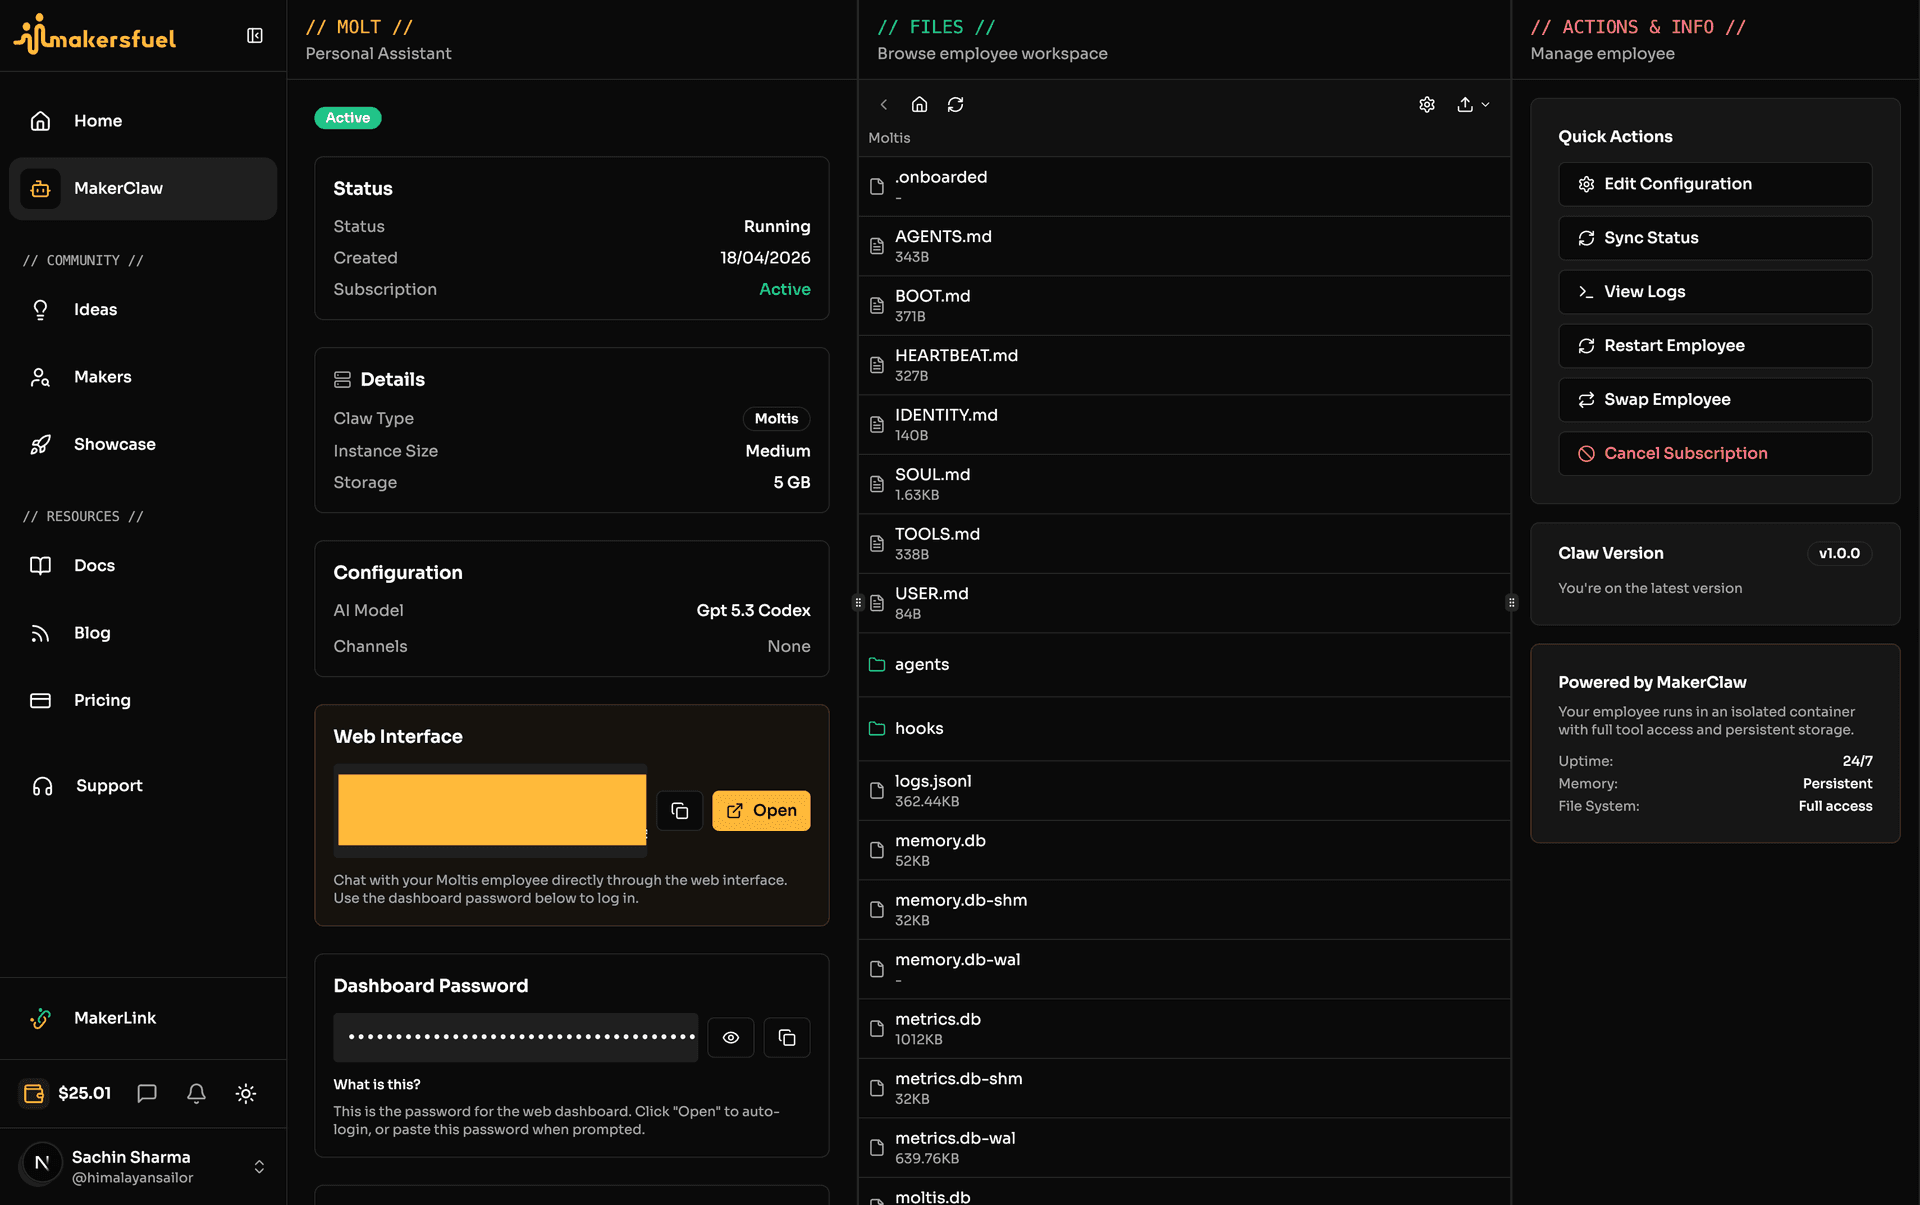
Give your employee a memorable, descriptive name.
Good names: "Alex Support", "Research Bot", "Content Casey", "DevOps Helper"
Model Selection
Select the AI model that powers your employee.
| Factor | Description |
|---|---|
| Speed | Faster models respond more quickly |
| Capability | More capable models handle complex tasks better |
| Cost | Different models consume tokens at different rates |
Step 7: Configure Channels
Your employee needs at least one communication channel to function (required for PicoClaw, optional for Moltis).
Supported Platforms
| Platform | Difficulty | Notes |
|---|---|---|
| Telegram | Easy | Recommended for beginners |
| Discord | Moderate | Requires Message Content Intent |
| Slack | Moderate | Dual-token setup |
| Moderate | QR code pairing (post-hire) | |
| Moderate | SMTP configuration (PicoClaw only) | |
| Matrix | Advanced | Homeserver setup |
| LINE | Advanced | Webhook configuration |
| DingTalk | Advanced | App credentials |
| WeCom | Advanced | Token + AES encryption |
| Feishu | Advanced | WebSocket/SDK mode |
Quick Start: Telegram (Recommended)
- Message @BotFather on Telegram
- Send
/newbotand follow prompts - Copy the bot token
- Paste in MakersFuel
- Get your user ID from @userinfobot
- Add to allowed users list
Important: Each employee needs unique bot tokens. You cannot share tokens between employees.
For detailed setup guides, see:
Step 8: Configure Built-in Tools
Enable web search and other built-in capabilities.
Web Search Providers
| Provider | Cost | Quality | Setup Required |
|---|---|---|---|
| DuckDuckGo | Free | Good (free fallback) | None |
| Brave Search | Paid | Better | API key |
| Perplexity | Paid | Better | API key |
| Tavily | Paid | Best | API key |
| SearXNG | Free | Good | Self-hosted instance URL |
Note: For Moltis, only one paid web search provider can be active at a time.
Step 9: Add App Integrations / MCP Tools (Optional)
Extend your employee's capabilities with MCP server integrations from the marketplace.
Common MCP Tools
| Tool | Category | What It Does |
|---|---|---|
| GitHub | Development | Manage repos, issues, PRs |
| Notion | Productivity | Create/read pages, databases |
| Slack | Communication | Send messages, read channels |
| PostgreSQL | Database | Query and manage databases |
See Tools, MCP Servers & Skills for complete details.
Step 10: Add Skills & Instructions (Optional)
Skills define your employee's behavior and knowledge through markdown instructions.
Template Skills
If you chose a template, you'll see pre-configured skills. You can:
- Keep as-is — Use the template's default skills
- Edit — Modify to fit your needs
- Disable — Turn off skills you don't need
Adding Custom Skills
- Click Add Skill
- Choose Custom Skill
- Write your markdown instructions
- Save
Example Skill Structure
# Customer Support Agent

## Your Role
You are a friendly customer support agent for [Company].

## Guidelines
- Always greet customers warmly
- Acknowledge their issue before solving
- Use simple, clear language
- Offer to help with anything else

## Escalation Rules
Escalate to human support when:
- Customer requests human agent
- Issue involves refunds over $100
- Technical issue persists after 3 attempts
Step 11: Review and Complete Hire
Review your complete configuration and click Complete & Hire.
Validation
The system validates your configuration:
- Green — Ready to hire
- Yellow — Optional improvements
- Red — Must fix before hiring
Common Validation Issues
| Issue | Solution |
|---|---|
| "No channels configured" | Add at least one channel (PicoClaw) |
| "MCP tool needs configuration" | Configure or disable the tool |
| "Duplicate bot token" | Use unique token per employee |
Provisioning
After clicking hire, your employee is provisioned (30-60 seconds):
Initializing container...
├── Setting up workspace
├── Configuring model
├── Connecting channels
├── Installing MCP servers
└── Applying skills

Employee is now running!
Step 12: Start Using Your Employee
Once running, start interacting!
First Interaction
- Open your channel (Telegram, Discord, etc.)
- Send a message to your employee
- Watch them respond based on their skills
For Moltis Employees
Click Open on the employee detail page to access the web dashboard directly.
Troubleshooting
"Invalid bot token"
- Double-check you copied the complete token
- Generate a new token from the platform
- Ensure no extra spaces before/after the token
"Provisioning failed"
- Check wallet balance (Settings > Wallet)
- Verify channel tokens are correct
- Try again in a few minutes
- Contact support if issue persists
"Payment failed"
- Check your payment method in Paddle
- Ensure sufficient funds
- Try a different payment method
What's Next?
Your employee is running! Now learn to:
- [Configuring Your Employee](/docs/configuring-your-employee) — Adjust settings anytime
- [Employee Channels](/docs/employee-channels) — Channel setup details
- [Tools, MCP Servers & Skills](/docs/tools-and-skills) — Add capabilities
- [Managing Employees](/docs/managing-employees) — Day-to-day management
What did you think of this content?